
We wanted to make the amount of water that is shed by a parking lot visible. We chose a small subwatershed next to a loading dock.
The orange lines are contour lines at 6" intervals from a low point at the storm drain grate up to the sub-watershed divide marked in green.

Using a template, with holes spaced at the center of each square foot, we made one mark per square foot with chalk.

Then, each of the chalk marks was painted bright blue with non-toxic tempera paint.

We chose to use recycled soda cans as a unit of water.
 These cans usually hold 12 ounces of liquid.


Once everything was set up, many pictures were taken.

And the U. Akron Field Station's research blimp arrived!


Connie volunteered to hold the blimp in place while Heath Garris ran the radio equipment that caused the camera to take pictures.

A blimp's eye view of the set up of cans and contours. Note the green band marking the divide between adjacent sub-watersheds.
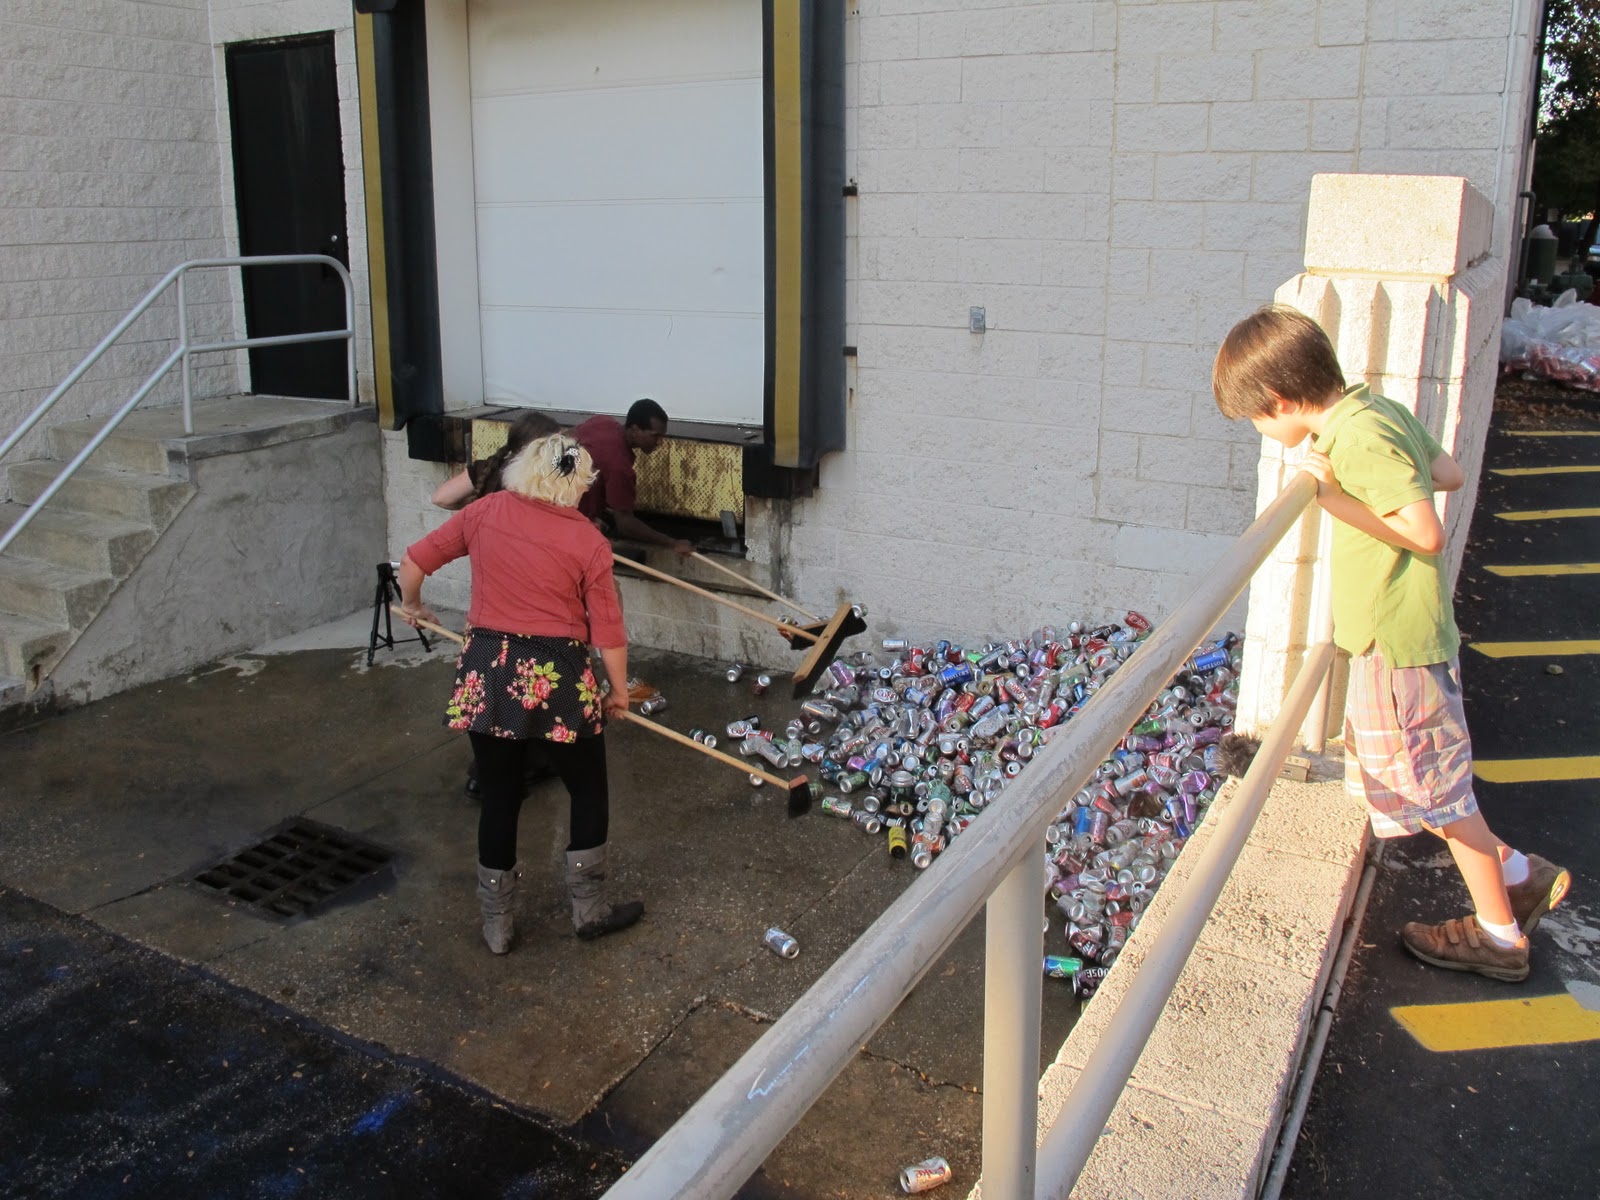
 Brooms helped us release the water from the cans and get everything moving down hill


The Blimp's eye view of the events initial sweeps.


It took almost fifteen minutes to get all the cans and water down the slope.

We couldn't make a piles of cans on top of the storm drain, as I had hoped.

So the can were pushed into the corner, where they attained a reasonable angle of repose.
In the end, the pile was over 3' high.

No comments:
Post a Comment